|
Final Fantasy Advance Whisperwind Cove
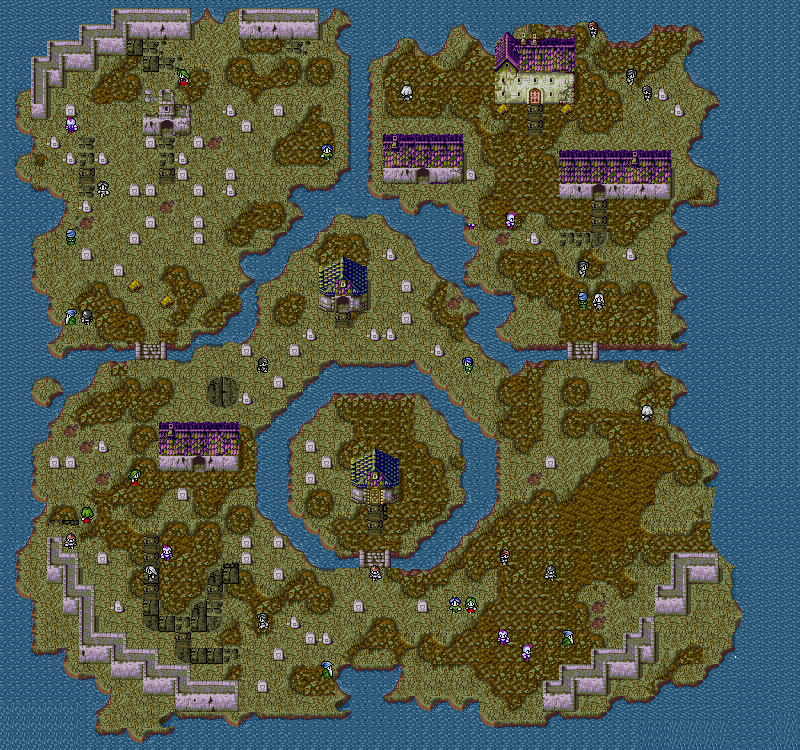
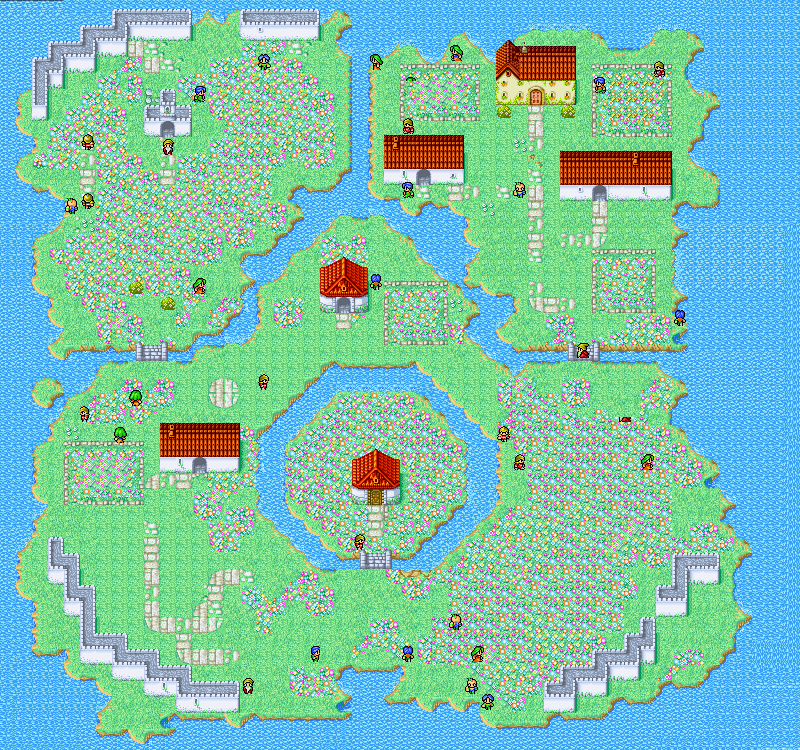
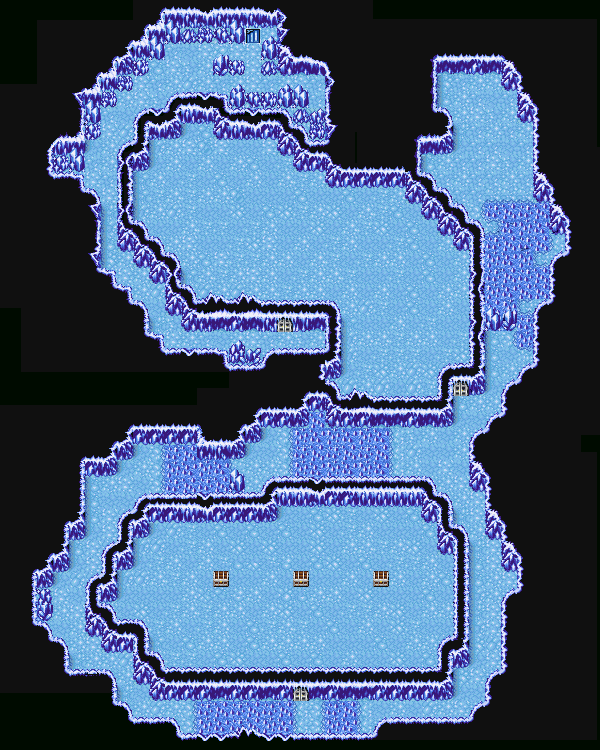
Once you have defeated the mighty Tiamat, the Whisperwind Cove becomes available. To get there, simply take the airship north of Mt.Gulug. Follow the river, as if you were going to the Ice Cavern. When you see a patch of land where the river splits to go to the cavern, land there. (It is directly above the Ice Cavern.) In the canoe, follow the river past the one leading to the Ice Cavern, and continue south. You will see the entrance at the end of the river. If you have not rested, or saved before entering, you should do so. This is a long, long dungeon. Though there is a town with an Inn and such, there is no telling where it will appear.
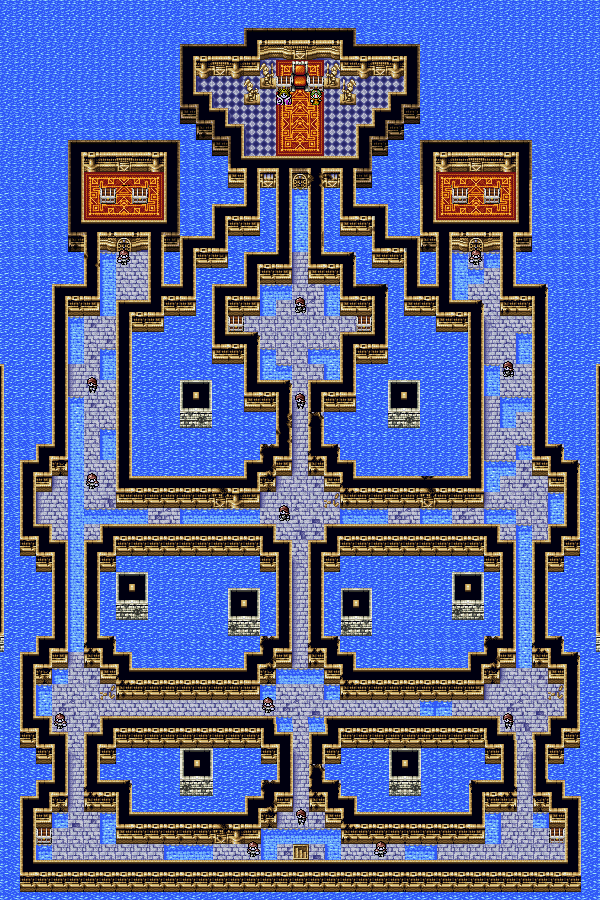
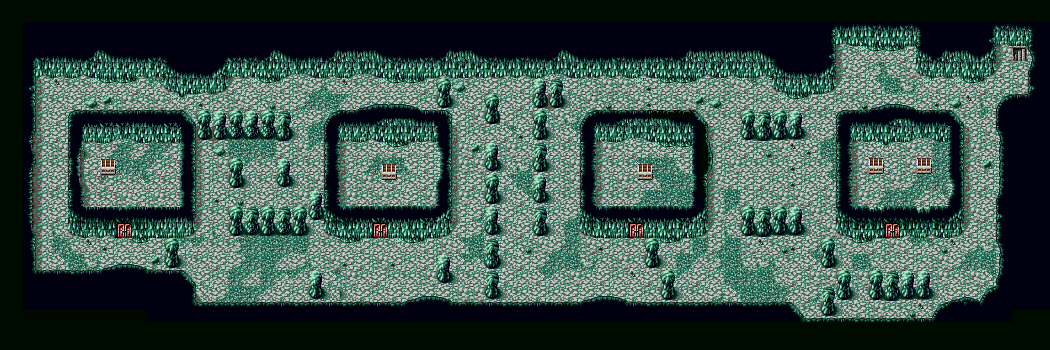
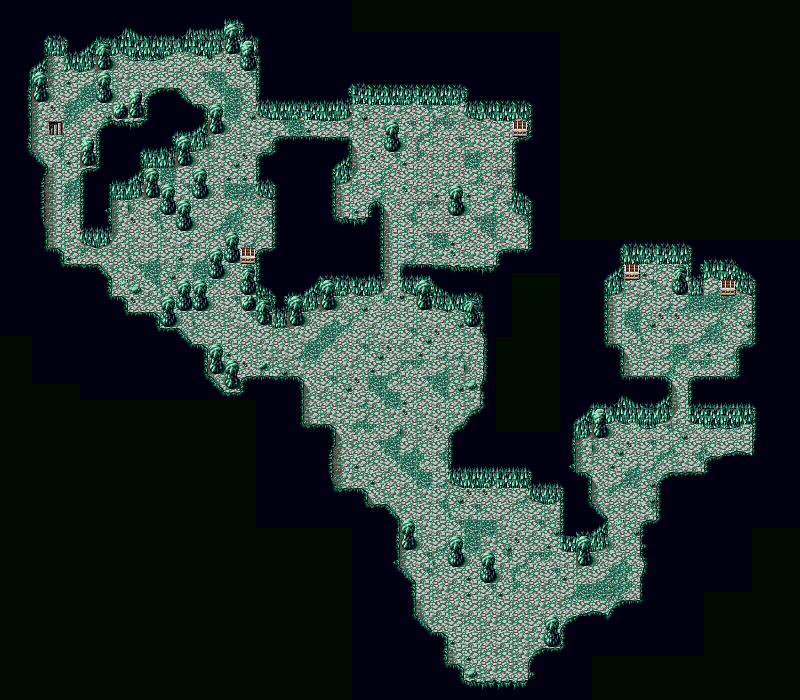
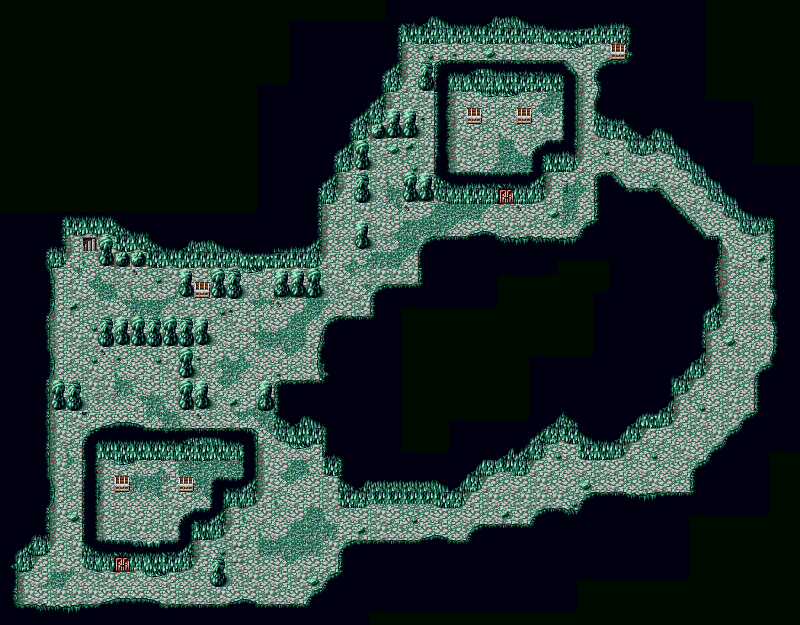
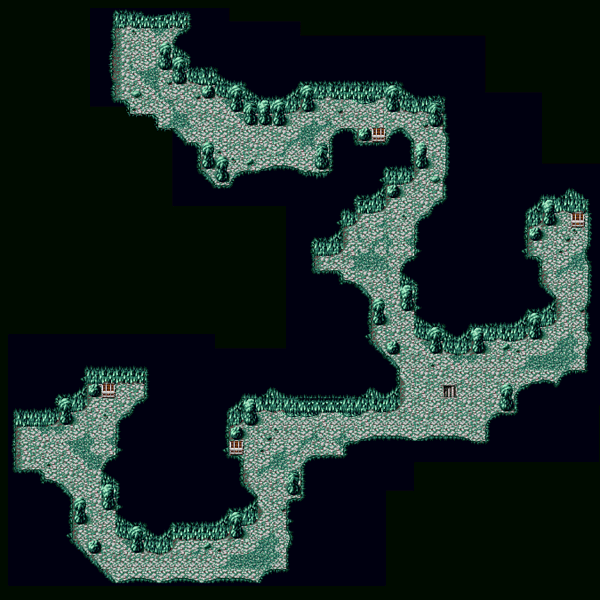
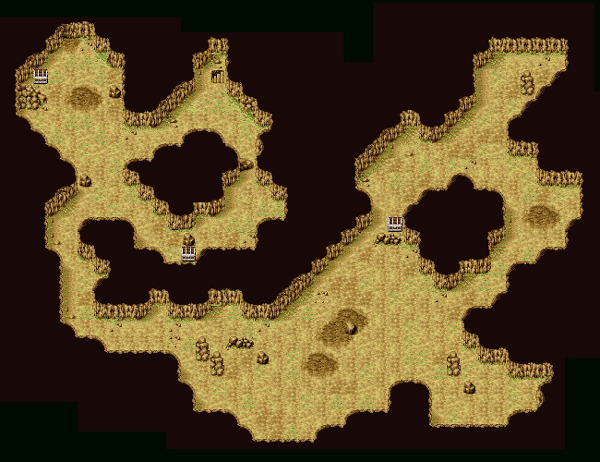
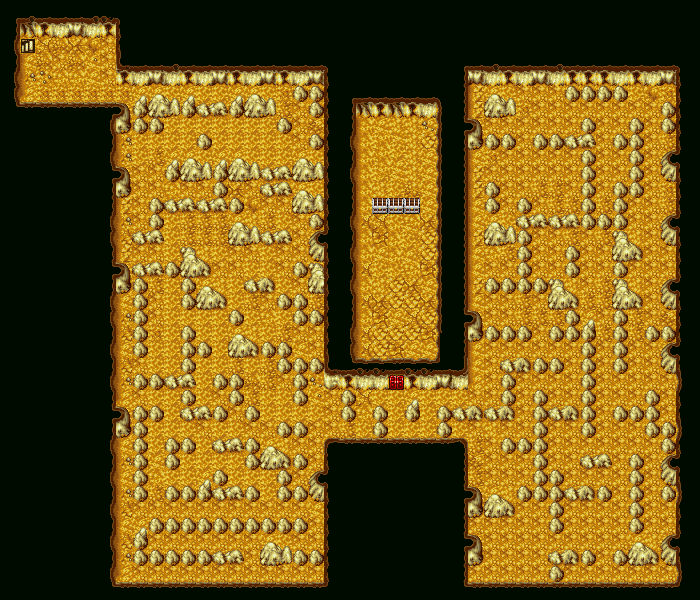
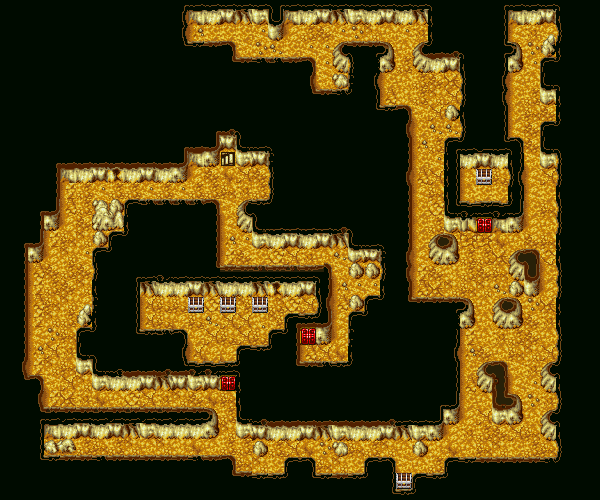
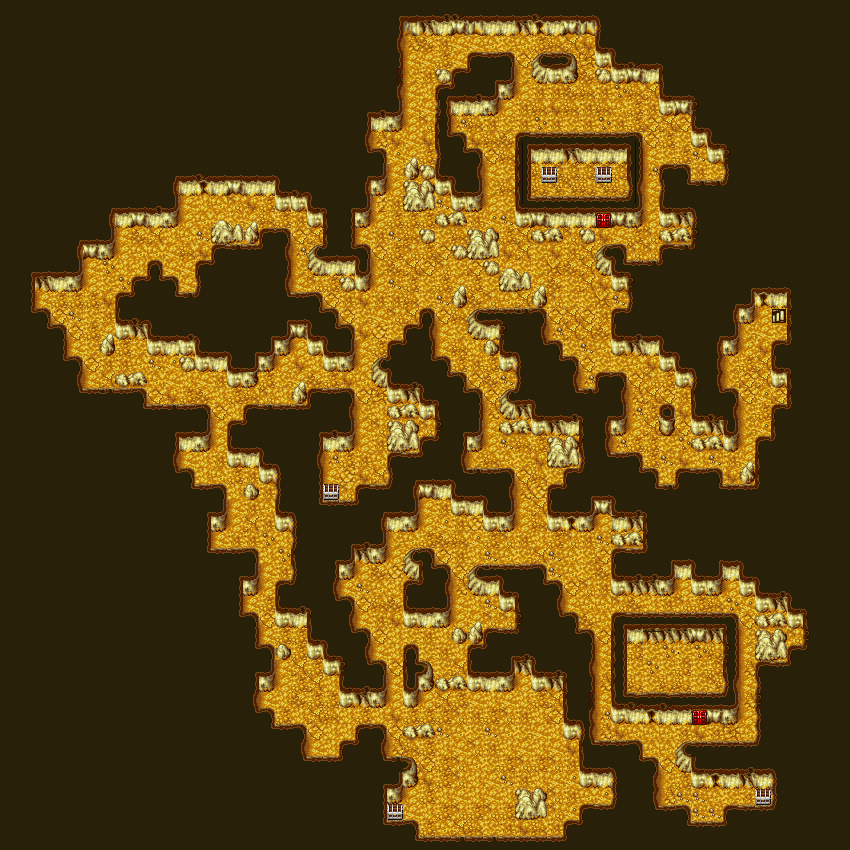
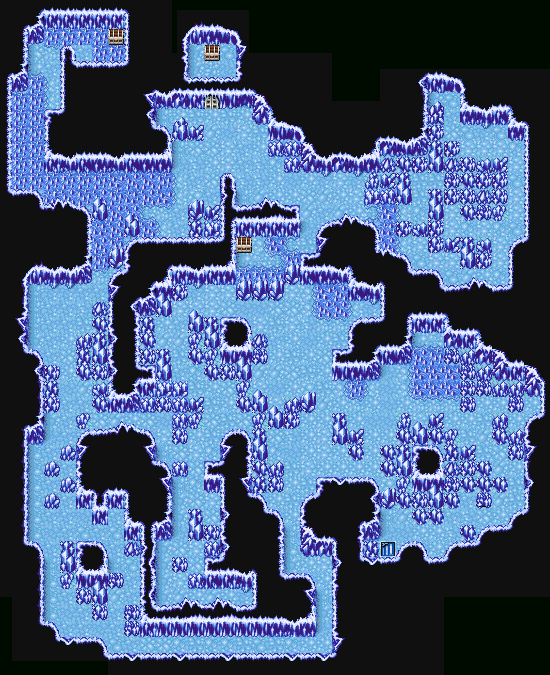
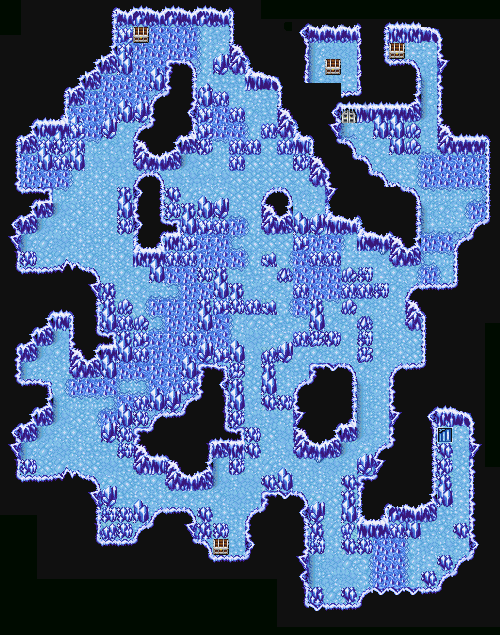
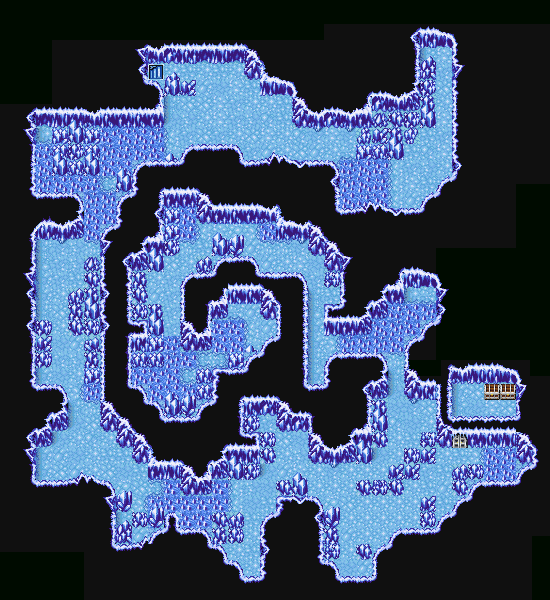
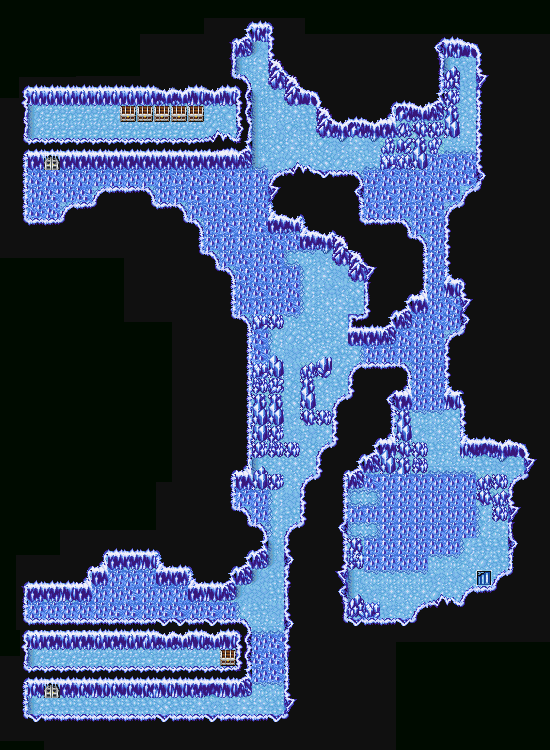
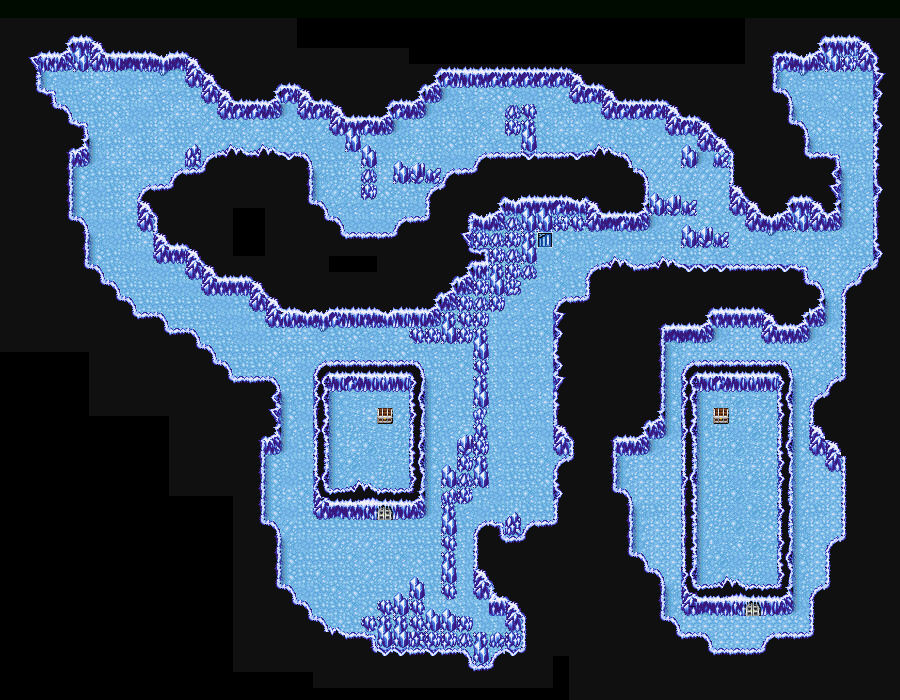
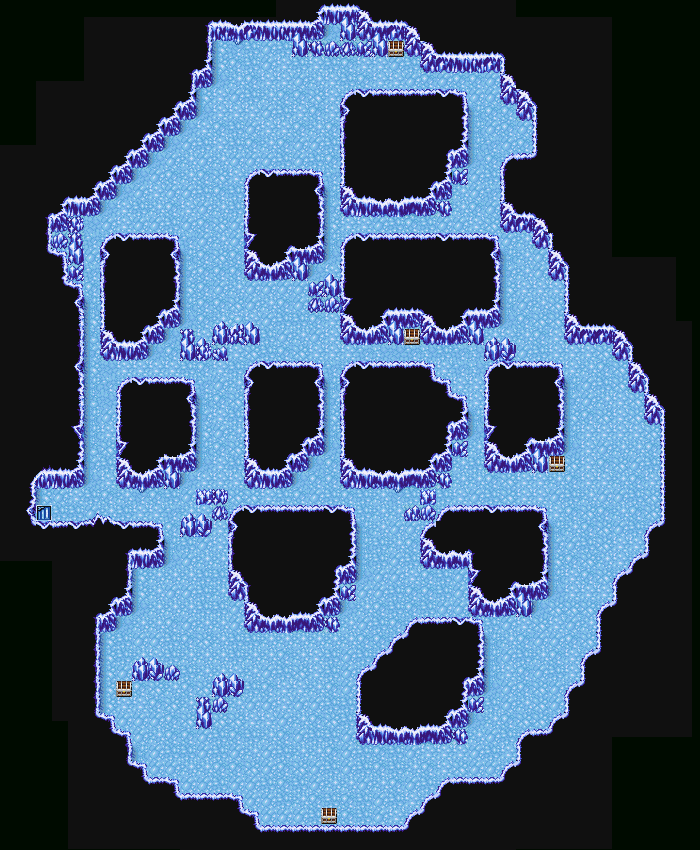
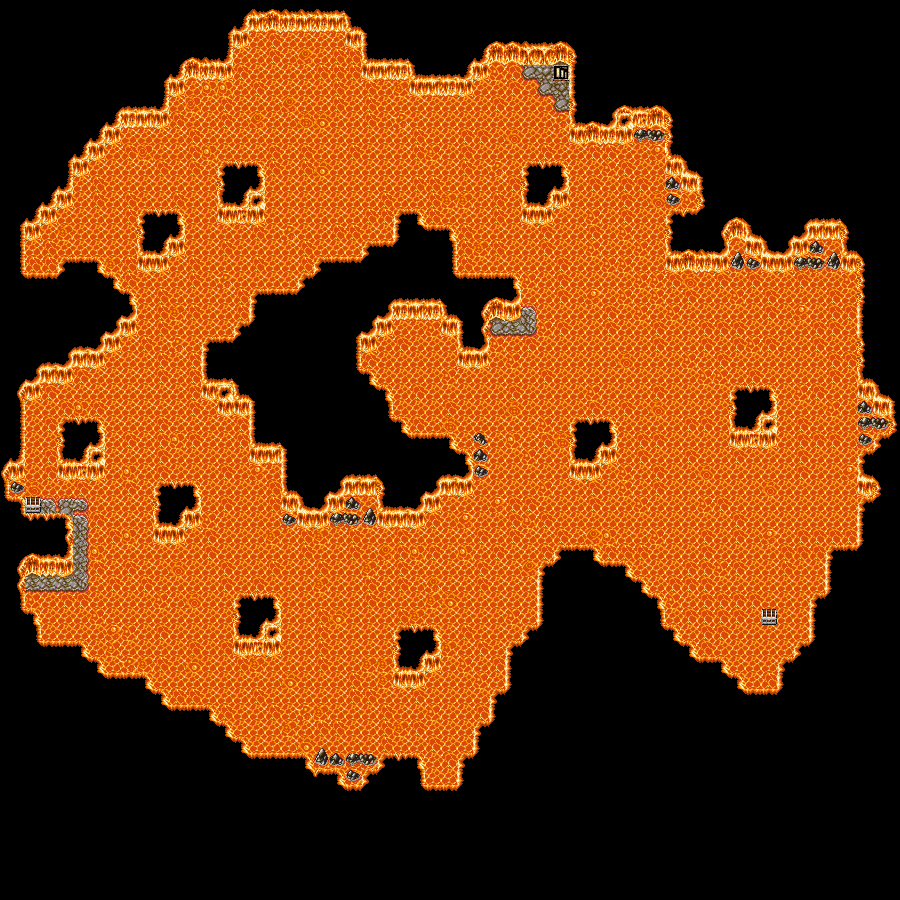
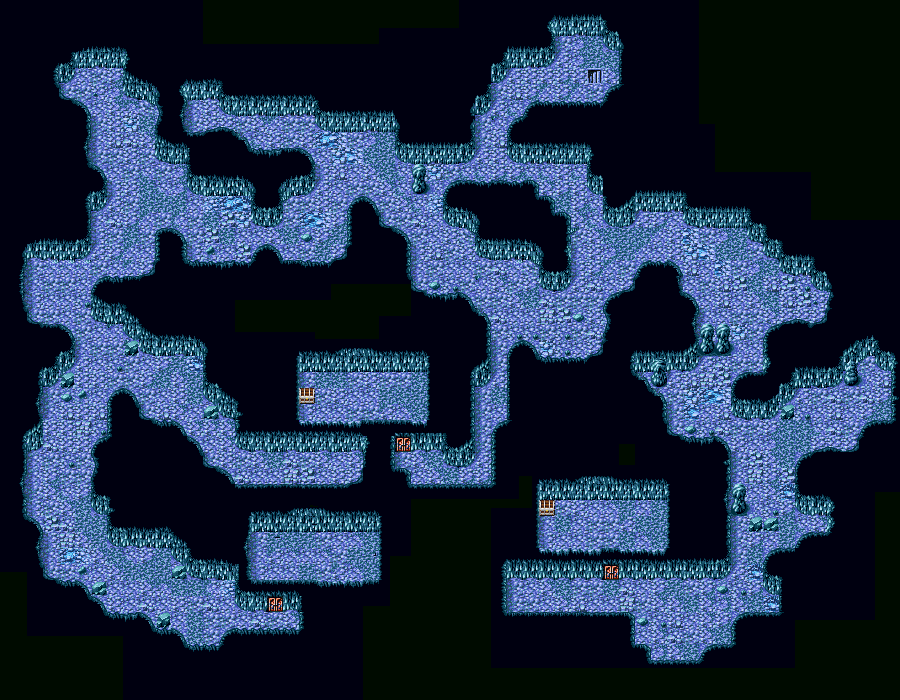
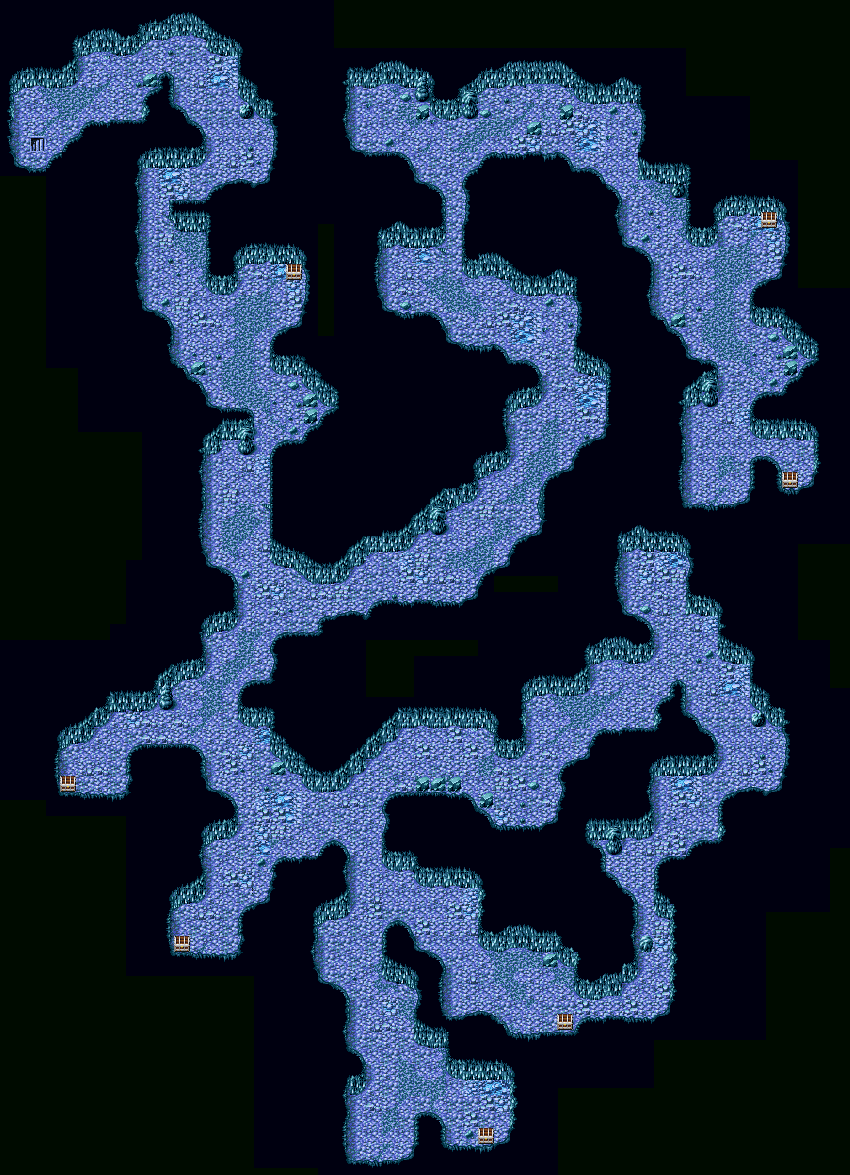
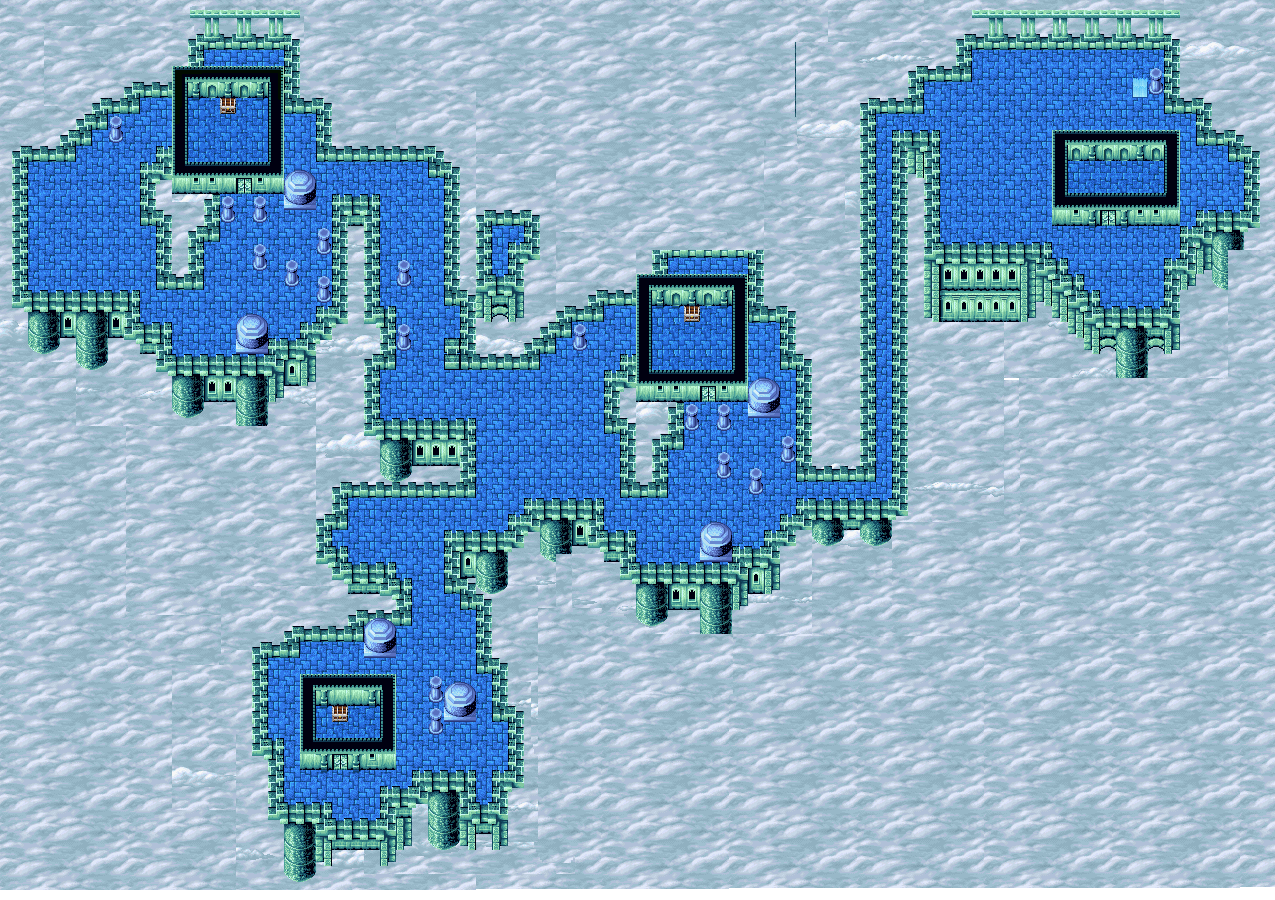
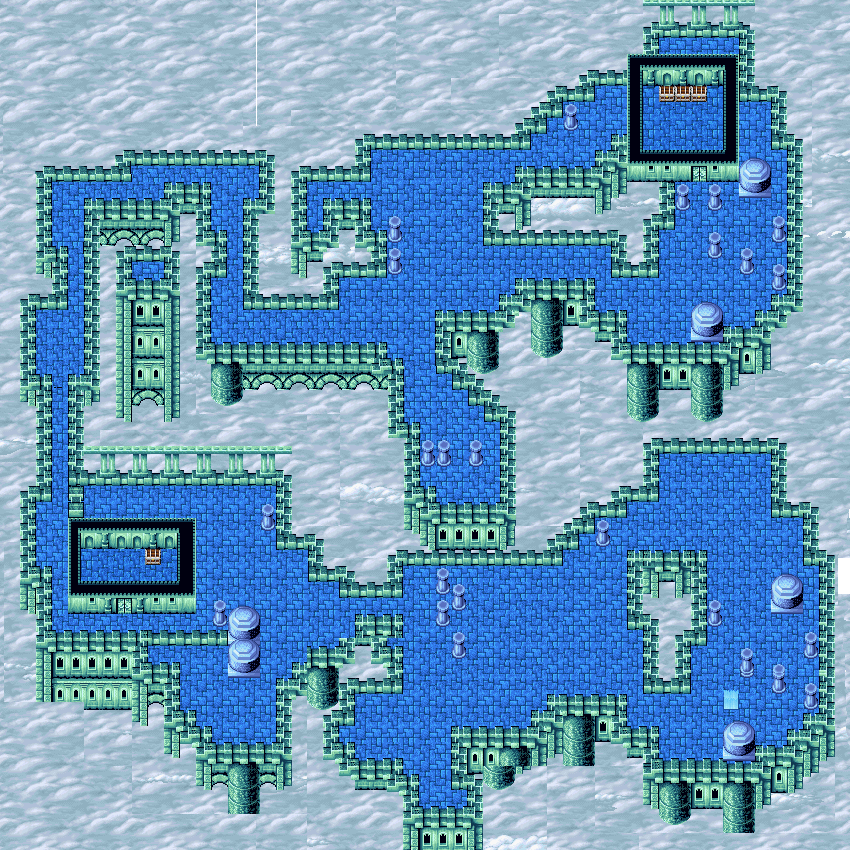
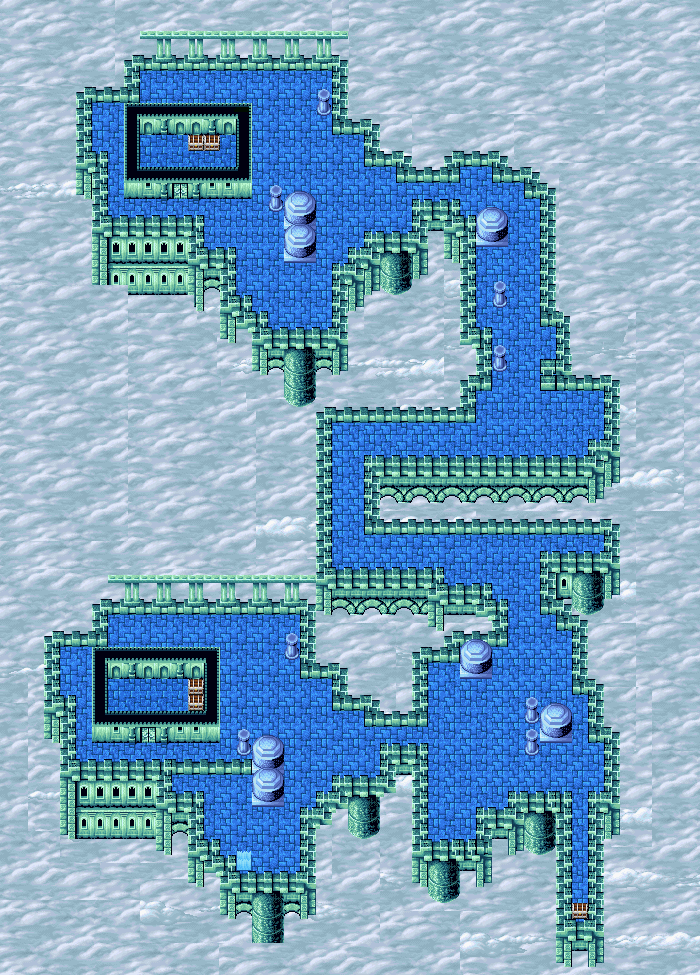
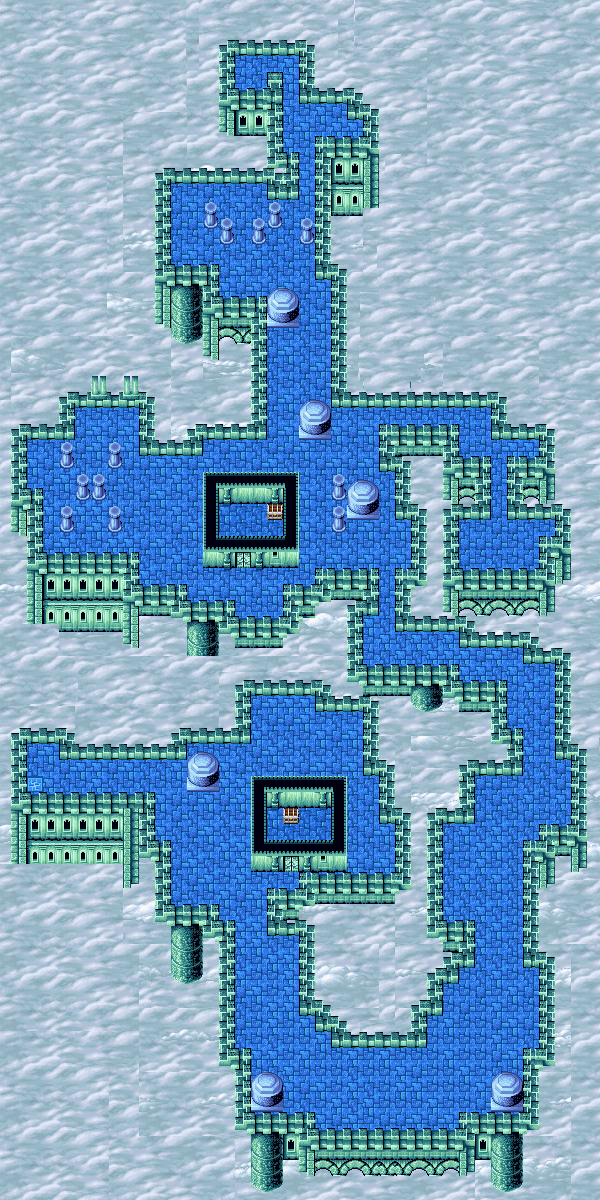
The first 24 maps are what I call simple "walk through maps" There is nothing really important about them, nor is there any challenge to face to get to the next level.
In the Ice and Lava areas, they will be damage floors. Each step will take away 1 HP from every character.
It should also be noted that these will appear throughout the entire dungeon. The maps are in no order in which they appear. The only constant is the bosses will appear on floor 11, 21, 31, and 43.
Puzzle floors, and others

When you enter this icy room, you will see a swarm of beaver-type creatures running around the room. Head to the center of the room, and speak to the man there. He will tell you the misfortune of him losing his pets, and ask you to help recover them. He will then tell you how many should go to the left, and how many should go to the right.
This is simply a game of memory. You need only have to remember the amounts he says, and send that amount in the direction you need to. Once you have completed this little chore, speak to the man again. He will thank you for your assistance and create the exit for you. Do not forget the chests found within this room at the bottom!
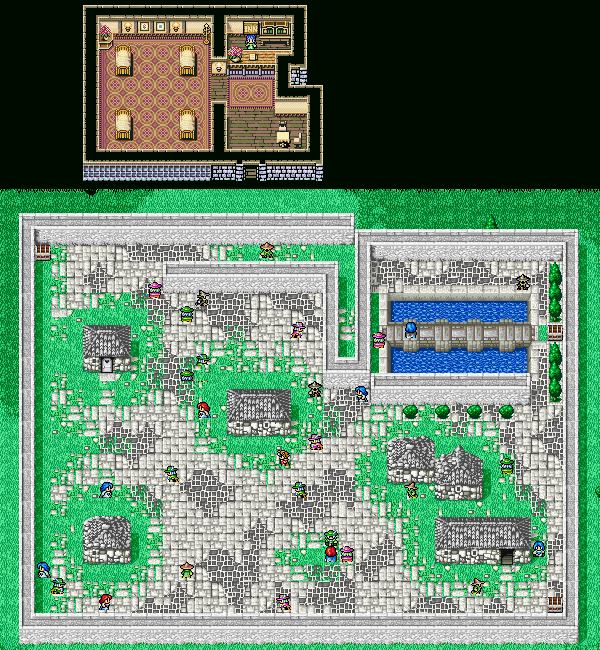
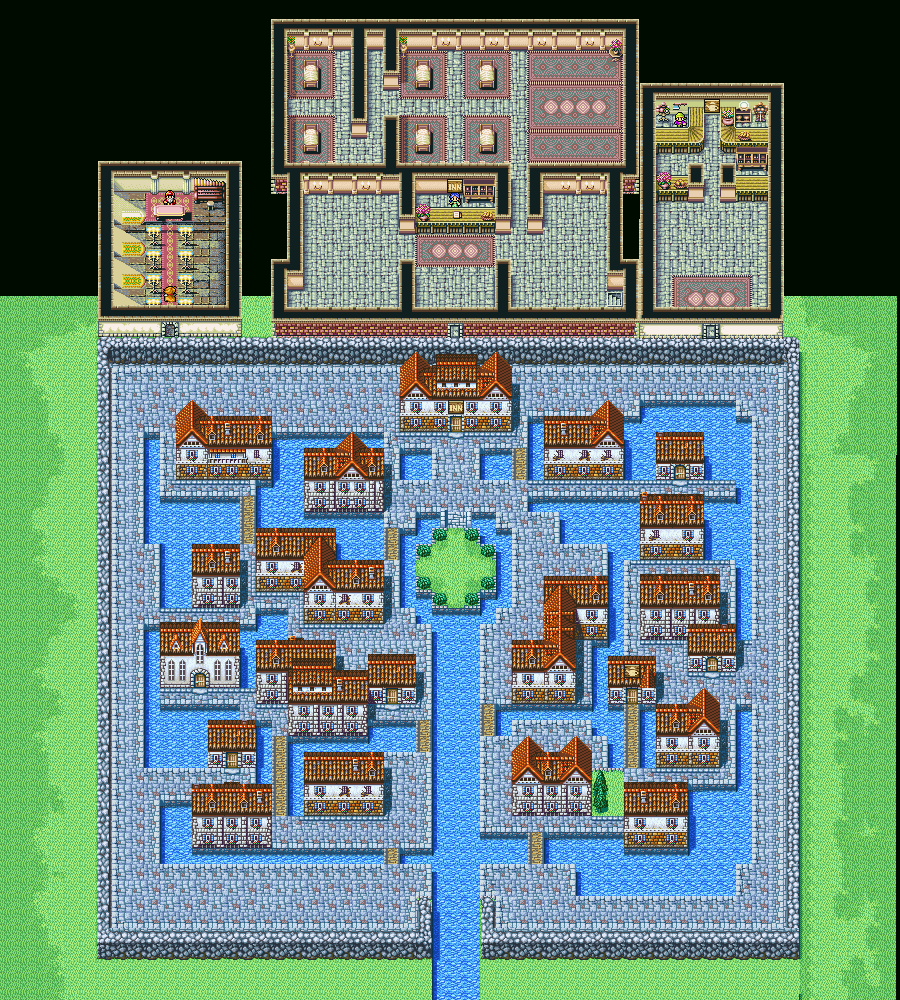
Welcome to Mage Town. This is a large village of Red, Black, and White Mages. Here you will find an Inn at the bottom right side of town. The cost to stay is a steep 1,000 Gil. You should have more than plenty by this time in the game though.
Also if you speak to the citizens, you will find they sell varying levels of Magic. The price is the same as it is in the
over world, but in case you were wondering, I will supply the price here:
| Lv 1 | 50 |
Lv 2 | 250 |
| Lv 3 | 1000 |
Lv 4 | 2500 |
| Lv 5 | 4000 |
Lv 6 | 13000 |
| Lv 7 | 30000 |
Lv 8 | 40000 |
If you missed any of the spells for your mages, now is the time to get them. Better yet, if you did not get spells for your
Knights and Ninja's, there is no time like now.
You might think with this being a village of mages, that magic is all they
sell. That is where you would be wrong. One person sells Items, another armor, and yet another sells weapons. |
 |
| Items |
Weapons |
Armor |
| Blue Curtain |
300 |
Black Robe |
25000 |
Healing Staff |
25000 |
| Light Curtain |
1000 |
Gauntlets |
15000 |
Light Axe |
10000 |
| Lunar Curtain |
500 |
Protect Cloak |
20000 |
Mage's Staff |
25000 |
| Red Curtain |
300 |
Protect Ring |
16000 |
Thor's Hammer |
40000 |
| White Curtain |
300 |
White Robe |
25000 |
Wizard's Staff |
50000 |
 |
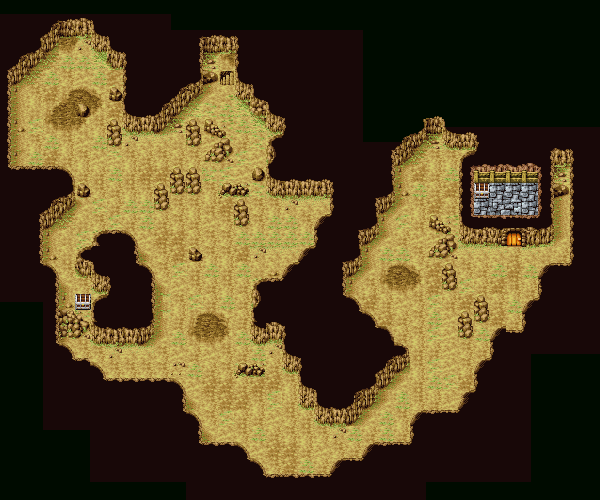
In this dead village, you will find two robots in the center. One of them is functioning normally, but the other is in need of repair. If you talk to the robot, he will ask you to find two parts to repair his companion.
The parts you are looking for can be found in the remains of the destroyed robots found around the town. These also include the ones found inside the buildings. Simply search for the two missing parts. When you have found them, return to the robots, The one will fix the other, and then show you the way to the next area.
*Note* The locations of the two parts are random, each time you enter the area. |
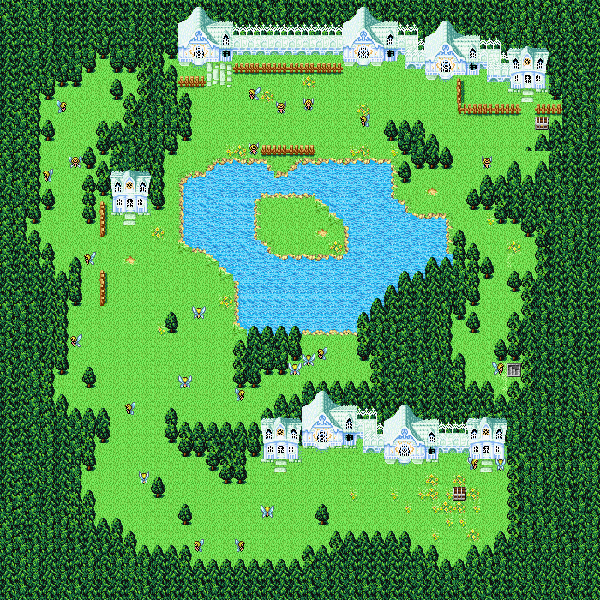
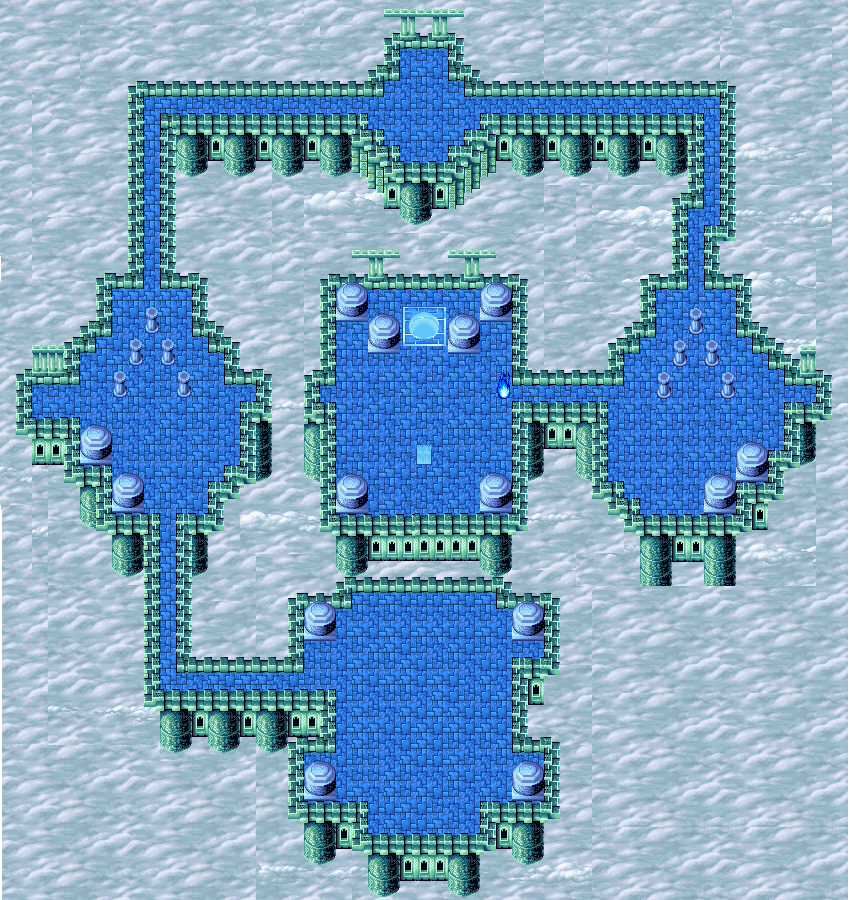
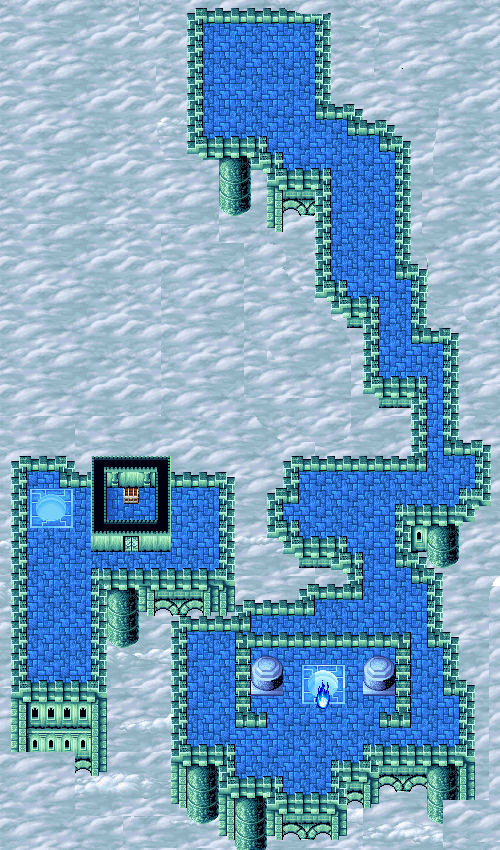
This (thank god) is the only world map in Whisperwind Cove. You will begin to the right of the exit. Just make your way around the world, until you can go to the lake in the center. Cross the lake, and head southeast, until you can go south. Head down, and then to the right. Not too hard huh?
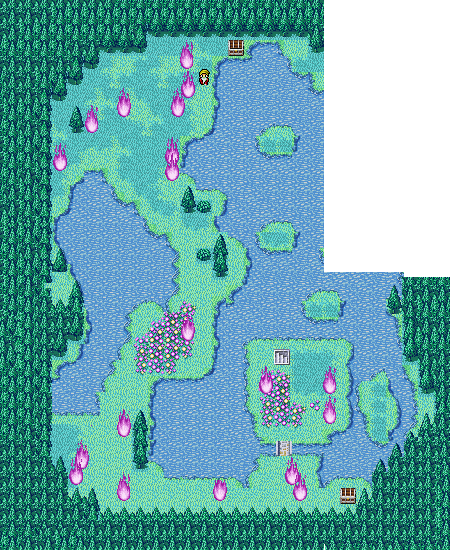 |
This is an interesting area. If you speak to the man, he will explain that the balls of flame are actually fallen enemies, who wish to be set free. In order to do this, you will need to speak to each flame, until they disappear.
There are two spirits though that will instigate a fight with you. The Vampire, and Astos have a thing out for you, and are wanting to try to end your quest once again. Do not worry though, they hold the same stats they did the first time you encountered them.
Once you have listened to all the spirits, the stairway to the next area will be made available to you.
|

1=20
2=14
3=11
4=15
5=9
6=2
7=8
8=7
9=5
10=20
11=1
12=3
13=16
14=6
15=21
16=19
17=20
18=12
19=4
20=10
21=13 |
Well, this is an interesting little town. You begin in a room with a small girl.
When you speak to her, you will learn she is playing hide-and-seek. She cannot seem to find another kid, so she asks you to
find him. Basically you are it. He will say he is looking for either a red haired kid, or a black haired one. Simple enough
right? Well when you step outside, you might change your tune. When you venture out you will see dozens of children, and dozens of doors. Each door leads to another location of this map. If you look closely, you will find that the black haired kid is right to the right of the beginning area. The red haired kid is to the right of that. This might seem a bit difficult, but there is a method to the madness.
The doors are marked with numbers on the map above. The chart to the left shows the number of the door, followed by the number of the door it will take you to. Follow the map, using the chart, and you can get to either child easily.
When you talk to the child you were looking for, return to the house and speak with the little girl. She will thank you, and make the exit available for you to go through. |
 |
The map here is of Faerie Town. This town full of these wonderful creatures may seem harmless enough, but after speaking to the first one, you will find this is not the case. This little charmer will tell you the faeries will restore your HP/MP if you speak to them, but not all the faeries are nice. Some of them will reduce these attributes to 1! With random encounters in the town, you might just get into a lot of trouble real fast. I would suggest talking to none of the faeries. Only the one near the exit at the right-center of the area. That way you can avoid losing anymore health and magic than you might have lost already. |
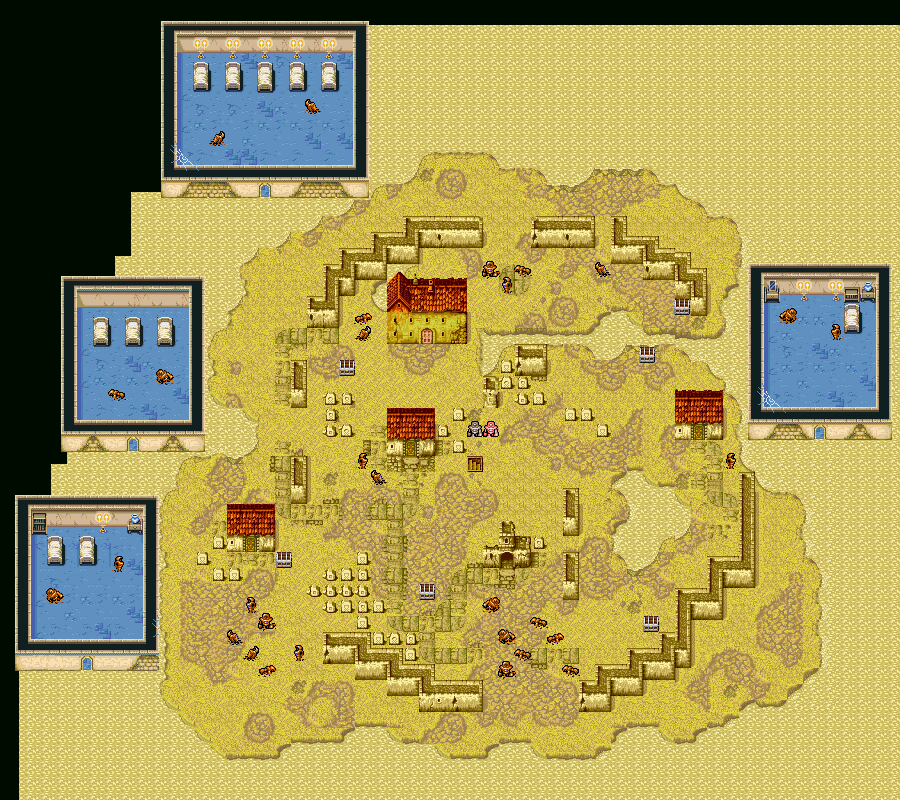
| The second map is not a puzzle map, but it just seemed out of place with the other walk through maps. It is a small kingdom of people who have not passed. Each guard will send you into a random battle. These are not hard fights, so if you want the Gil, and EXP, go for it. Also there are two unique fights in the throne room with the king (Pharaoh), and the queen (Devil Wizard). Both are guarding chests, and are not too difficult to defeat. If you would like to just get through this area, the exit is directly south of the entry point. |
 |
 |
This is the second town, where you can rest and buy items that are for sale. This town has an inn at the top of the area. (This is also where you will find the exit). The stay will cost you 1,000 Gil, but by the point you get to this spot, you can afford it. Trust me. This location is usually towards the end of the dungeon, so it is very wise to get a rest.
There is an item shop on the right side of town. It sells a variety of weapons, armor, and items. The catch is, the merchandise is very random. Its merchandise depends on when you reach the town in the grand scheme of the dungeon. There are four possible times you will reach the town, thus four possible inventories for the shop. Some of the items in any case are rare items, and would be worth the purchase if you have the money.
There is also a sanctuary on the left side of town, though I wonder with the advent of the Phoenix Down item why they kept these in the game. When you are rested, and gotten any items you need, head into the inn, and go to the exit on the right side of the door. |
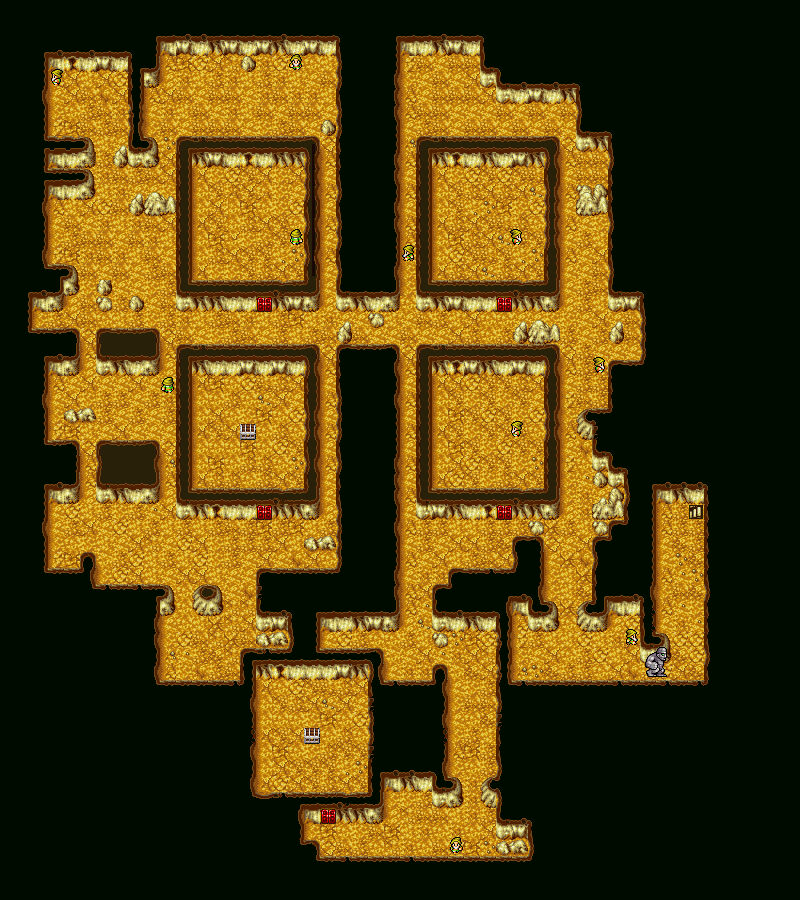 |
Our last puzzle floor is a bit interesting. Here you will find a group of dwarves wandering around the area. If you talk to the closest one from eh entrance, he will tell you that each dwarf is looking for an item. This is the clue to getting through the area. You must find an item one dwarf is carrying, and give it to the dwarf that wants it. Read carefully what each dwarf says, as it is a clue to what they are looking for. (And yea, the speaking on the part of the dwarfs is not great) The question is, what do you have to begin getting the items from them?
Actually you have nothing they want. To get this ball rolling, you will need to speak to the dwarf who is in the very bottom
area, by the door to the large room. He will give you a Carob. Take this to the dwarf above the top right room. He will in
turn give you a Ocarina. This will be sought after by the dwarf by the top left room. Give it to him, and he will give you
a Cogwheel. Take this to the dwarf standing by the Golem blocking the path, for a pick axe. |
| This axe is wanted by the dwarf inside the bottom right room. He will in turn give you an autograph. (This is an autograph of the dwarf that made the canal for you in the beginning of the game.) Find another dwarf towards the beginning area who will want this token of paper. He will then hand you a Witches Brew. There is a dwarf in the bottom left area, who will have an upset stomach. Give him the brew, and he will hand you a set of Smithy Tools. These are wanted by the dwarf above the top left room. Give them to him, and he will give you the House Key. Now head into the top left room, and trade the key for a Cats Whisker. Now go out and find a dwarf below and around this room. He will hand you the Star Ruby, in exchange for the Cats Whisker. Now all you have to do is feed the Golem the ruby, and you will be free to leave. |
 |
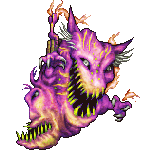
When you get to the 11th floor, you will come to this one. This is the first boss floor of the Whisperwind Cove. Follow the winding path, and approach the blue flame. When you speak to it, you will get a Funghaaa!!! (For those who remember Typhon from Final Fantasy VI) You will then go into battle with Typhon. |
 |
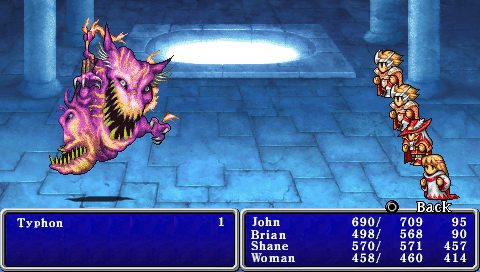 Typhon is fairly easy to beat. The Sneeze attack can (and will most likely) kill one of your party members. His physical attacks do around 150-200 damage to a single character as well. Just keep your fighters beefed with Haste and Giant's Gloves, while having your mages keep the party alive. You should actually be able to just heal with the Rune Staffs to conserve on MP. Typhon is fairly easy to beat. The Sneeze attack can (and will most likely) kill one of your party members. His physical attacks do around 150-200 damage to a single character as well. Just keep your fighters beefed with Haste and Giant's Gloves, while having your mages keep the party alive. You should actually be able to just heal with the Rune Staffs to conserve on MP.
For taking the wind out of Typhon, you will get the Genji Helmet. A great helmet for your Knights. |

Now you have made it to the 21st floor. Here it is not really any different from the other boss floors. Just make sure you are completely healed, and MP is full. Head over to the blue flame, and somone will speak to you. It is your next foe Orthros!
 |
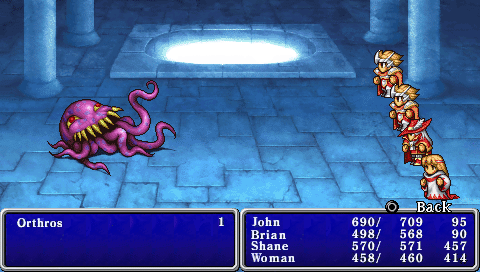 Orthros (Ultros in VI) has weakness to both Fire and Lightning attacks. But even with this weakness,
it seems the magic does not do the damage. Your best bet as always is beefed up fighters. Orthros will throw his ink attack
a lot. But this should not hit higher level characters. Even if it connects, the boosted fighters still hit hard. Just keep
the party healed, and this will be just as quick as the last fight. Orthros (Ultros in VI) has weakness to both Fire and Lightning attacks. But even with this weakness,
it seems the magic does not do the damage. Your best bet as always is beefed up fighters. Orthros will throw his ink attack
a lot. But this should not hit higher level characters. Even if it connects, the boosted fighters still hit hard. Just keep
the party healed, and this will be just as quick as the last fight.
When you have served Orthros to the sushi bar, you
will get that fabled Rune Staff you have heard about all through the bonus areas. Now simply repeat the Whisperwind Cove from
here a few more times, to get more of those staffs. |
 |
 |
| On the 30th floor, you will come into a dismal looking town. Most of the citizens tell you of a train that has corrupted their town. They beg you to please help them rid the town of the Phantom Train. Make your way to the center island, and speak to the soldier zombie there. He will tell you to go and defeat the Phantom train, and moves to let you pass. Head into the door, and go through the area, until you find that blue flame. And get ready to face Phantom Train. |
 |
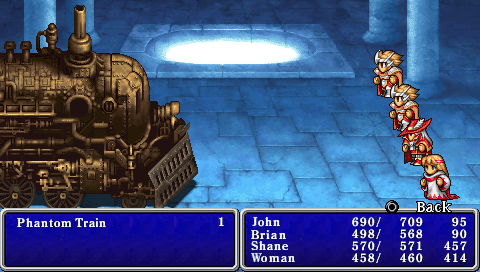 Phantom Trains main attack Acid Rain is a hard hitter indeed. It will easily take 2-350 HP from
each party member. Boost your fighters 2 times with Giant's Gloves, and set them up with Haste. Then let them unload on this
phantom menace (No pun intended). Keep your healers busy healing. Have the White Mage resort to Healaga vs the Rune Staff.
Phantom train can also hit a single character hard, so it is important not to bypass healing for another attack. And though
he has a weakness to both Fire and Dia magic (He is undead) the spells just do not do the damage to justify using them. Phantom Trains main attack Acid Rain is a hard hitter indeed. It will easily take 2-350 HP from
each party member. Boost your fighters 2 times with Giant's Gloves, and set them up with Haste. Then let them unload on this
phantom menace (No pun intended). Keep your healers busy healing. Have the White Mage resort to Healaga vs the Rune Staff.
Phantom train can also hit a single character hard, so it is important not to bypass healing for another attack. And though
he has a weakness to both Fire and Dia magic (He is undead) the spells just do not do the damage to justify using them.
Once
you have sent this train to its resting place, you will get a Megalixir. This might not seem like anything great, but save
it for your final fight of the area. You will need it. |
 |
 |
Once you have defeated the Phantom Train, you will return to find a beautiful lush village again.
Everyone is thankful that you have restored the town to its former self, and tell you to rest before continuing. (Too bad
there is no where to rest here). Heal yourselves up with items and such, before you continue. When you are ready, head through the door on the top right island. This will take you to a small section, where you can continue to the final boss, or return to the world map. Head into the next area, and begin the last leg of this dungeon. |
The final floor...
This floor is so straight forward it is not even funny. Make sure you are completely healed, and that your MP is full. Equip
all the best things you have to give your players, and head into the final confrontation with Death Gaze! |
 |
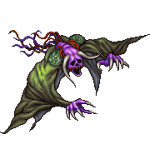 |
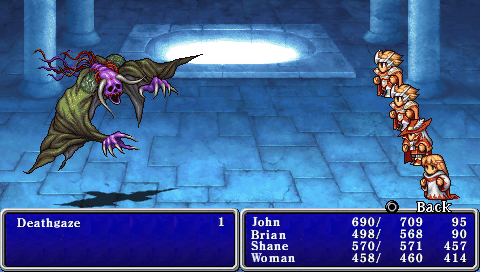 Death Gaze is the most formidable opponent you will hit in the bonus areas. He comes complete with Death, Kill, and Dispel. If you are in levels higher than 55-60, the Death and Kill will surely miss. (Though it can still connect). Dispel hinders any beef you may have given your fighters, thus making you have to beef them up one more time. To make it a little harder to get the Dispel on a beefed fighter, pick a single character to attack. (Preferably one without the Ultima Weapon if you have it). Have him boost himself with Giant's Gloves. Then cast Haste on him. In the next turn Have the White Mage begin using Healaga, while the second fighter uses Hermes Shoes on the boosted fighter. Have the Red Mage continually cast Temper (If you have a Black Mage, have them cast Saber) on the boosted character. Within a few rounds, your fighter will be dealing about 2000 HP damage each round. Hopefully the Dispel will not be cast on him, but if it is, simply re boost him. Now is a great time to get out those Giant Tonics, and Strength Tonics as well. Keep everyone alive and healthy, and you will
get this guy down before too long. Death Gaze is the most formidable opponent you will hit in the bonus areas. He comes complete with Death, Kill, and Dispel. If you are in levels higher than 55-60, the Death and Kill will surely miss. (Though it can still connect). Dispel hinders any beef you may have given your fighters, thus making you have to beef them up one more time. To make it a little harder to get the Dispel on a beefed fighter, pick a single character to attack. (Preferably one without the Ultima Weapon if you have it). Have him boost himself with Giant's Gloves. Then cast Haste on him. In the next turn Have the White Mage begin using Healaga, while the second fighter uses Hermes Shoes on the boosted fighter. Have the Red Mage continually cast Temper (If you have a Black Mage, have them cast Saber) on the boosted character. Within a few rounds, your fighter will be dealing about 2000 HP damage each round. Hopefully the Dispel will not be cast on him, but if it is, simply re boost him. Now is a great time to get out those Giant Tonics, and Strength Tonics as well. Keep everyone alive and healthy, and you will
get this guy down before too long.
When you have finally defeated Death Gaze, you will get the Lightbringer, which is the best sword for your Red Mage. |
When you defeat Death gaze, step through the warp and head to the room at the top. Inside you will find the Ultima Weapon in the chest. This is arguably the best weapon in the game. Remember though, Like other Ultima Weapons of the past, this one's damage is determined by the wielders HP. If you have already been through Whisperwind Cove and gotten this sword, it will not be here the second time.
Now head through the warp, and out to the world map. Congratulations on finishing the bonus Dungeons of Final fantasy PSP! With the awesome weapons and Armor you have obtained, you should check out the Labarynth of Time.
|


 2005-2020 Final Fantasy Kingdom, & I.M. Meckem Web Design.